This and all the tutorials assume that you have Visual Studio .NET installed on your system, and Internet Information Services (IIS) installed and running on your system as the local host server.
Perform the steps in this tutorial to set up an ASP.NET Visual Studio .NET project that contains the Spread for ASP.NET component.
- Start Visual Studio .NET.
- From the File menu, choose New, Project.
- In the New Project dialog,
- In the Project Types list, choose either Visual Basic Projects or Visual C# Projects depending on the language you are using.
- In the Templates list, choose ASP.NET Web Application.
- In the Location box, leave the location path as http://localhost/ unless you prefer to save this project to another server. Change the project name from WebApplication1 to the name of your choice.
- Click OK.
- In the Solution Explorer, right-click on the form name, WebForm1.aspx. Choose Rename from the pop-up menu, then type the new form name you prefer for the new form name.
- If your project does not display the Solution Explorer, from the View menu, choose Solution Explorer.
- If the Toolbox is not displayed, from the View menu choose Toolbox.
- In the Toolbox, look in the Web Forms category (or in other categories if you have installed Spread and placed the toolbox icon in a different category). If the Spread component is not in the Toolbox, perform steps 12 through 14. Otherwise, proceed to step 15.
- Right-click in the Toolbox, and from the pop-up menu choose Customize Toolbox.
- In the Customize Toolbox dialog, click the .NET Framework Components tab.
- In the .NET Framework Components tab,
- Click Browse.
- Browse to the installation path for the Spread for ASP.NET component. Once there, select FarPoint.Web.Spread.dll and click Open.
- The FpSpread component is now displayed in the list of components. Click OK.
- In the Toolbox under Web Forms or another tab, select the FpSpread component.
- On your form, draw an FpSpread component.
- Save your project.
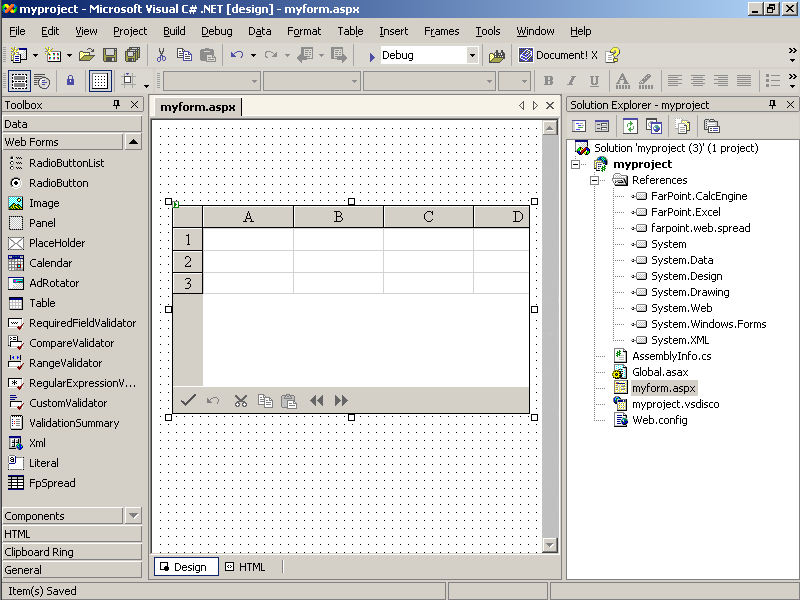
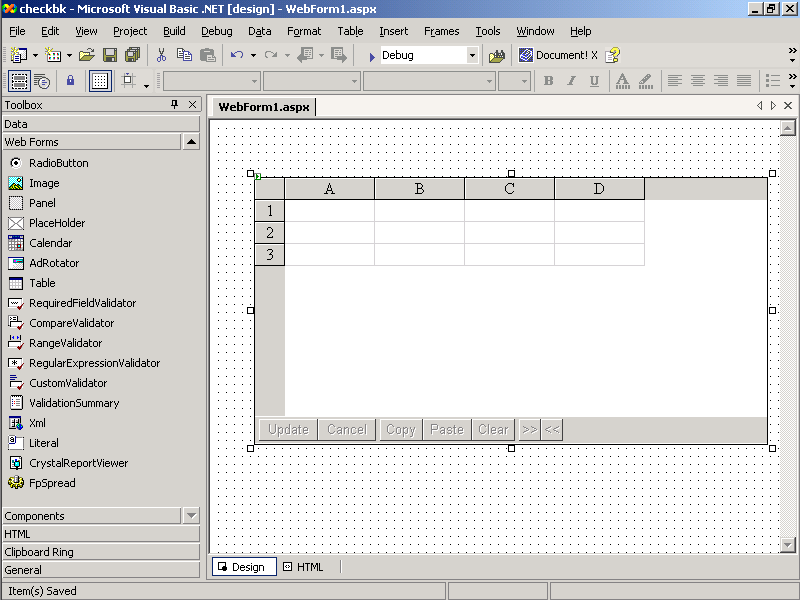
Your project should now look similar to one of the following images:


You have added the Spread component to the project.
Return to the overview of the Tutorial: Creating a Checkbook Register.


