This topic shows how to use the MenuLayout, SelectedItemStyle, and SelectedStyle.ImageUrl properties to create slice-to-slice images in a horizontal menu and vertical submenus.
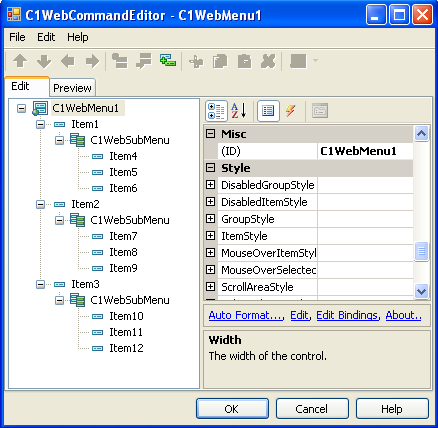
1. Add three menu items, three submenus, and three submenu items for each submenu in the C1WebMenu editor. The treeview of the C1WebMenu editor should appear like the following:
2. Select C1WebMenu1 and modify its properties to the following:
· BorderWidth to 0px.
· GroupPadding to 0px.
· Padding to 0px.
· Expand ItemStyle and set its BorderWidth to 0px.
· Expand SubMenuItemStyle and set its BorderWidth to 0px.
· Remove the default back and border color from the SubMenuMouseOverItemStyle.BackColor and SubMenuMouseOverItemStyle.BorderColor.
· Expand SubMenuStyle and set its BorderWidth to 0px.
· Layout property to Horizontal.
3. Set SelectedItemStyle.BackColor to White.
4. Select Item1 in the treeview of the C1WebMenu editor and set its properties to the following:
· Expand the ItemStyle property node. Select the ImageUrl property and click on the ellipsis button. Select a customized image from the Select Url dialog box.
· Set the ItemStyle.ItemImagePosition to ImageOnly. This will remove the item text so only the chosen image from the ItemStyle.ImageUrl appears for the menu item.
· Expand the MouseOverItemStyle property and select a customized image for its MouseOverItemStyle.ImageUrl property.
· Set the MouseOverItemStyle.ItemImagePosition to ImageOnly.
5. Select Item2 in the treeview of the C1WebMenu editor and set its properties to the following:
· Set the ItemStyle.ImageUrl and MouseOverItemStyle.ImageUrl to a customized image.
· Set the ItemStyle.ItemImagePosition and MouseOverItemStyle.ImagePosition to ImageOnly.
6. Set the remaining menu items' ImageUrl and ItemImagePosition properties the same way we did for Item1 and Item2.
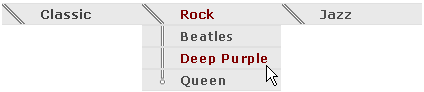
7. Run the application. The menu items and submenu items appear as images.
Send comments about this topic to ComponentOne. Copyright © ComponentOne LLC. All rights reserved. |