To connect to an XML file through the Data Source Configuration Wizard and add the XML data source to C1WebTreeView, complete the following steps:
1. Add a C1WebTreeView control to your Web page.
2. Open the C1WebTreeView Tasks menu and select <New Data Source> from the Choose Data Source drop-down box. The Data Source Configuration Wizard opens.
3. Select the XML File application from the Choose a Data Source Type.
The wizard adds an XMLDataSource ID to the text box.
Leave the default data source ID.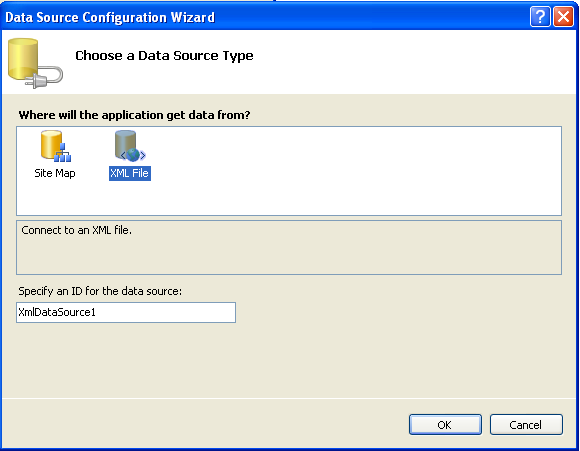
4. Click OK.
The Configure Data Source dialog appears.
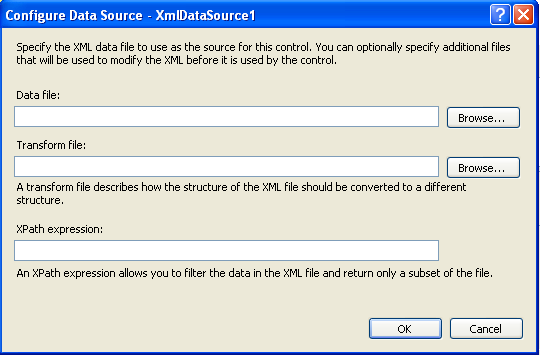
The Configure Data Source dialog box provides a Data file, Transform file, and an Xpath expression to add a XML data file, transform and/or filter the data in the XML file.
5. To add a XML file click the Browse button next to the Data file text box, then double-click the App_Data item from the Project folders list box. The xml file appears in the Contents of folder list box.
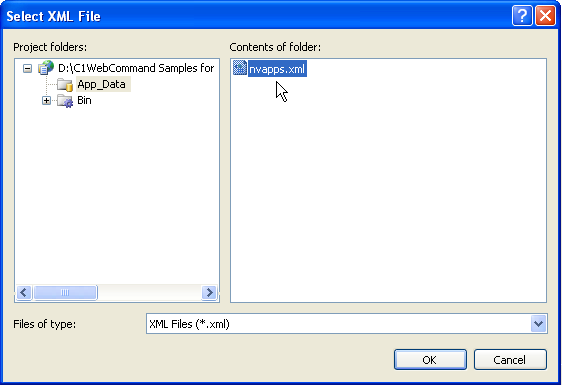
6. Click OK.
The wizard adds the nvapps.xml file to the XmlDataSource1 ID.
7. Click OK.
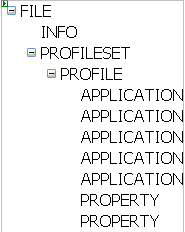
The Configure loads the configuration file into memory, parses the contents and calls the methods to register the objects describe in the nvapps.xml file. The wizard creates the root File and its child and leaf nodes and adds them to the C1WebTreeView control.
Send comments about this topic to ComponentOne. Copyright © ComponentOne LLC. All rights reserved. |