
Now that you've created a WPF application and customized the application's appearance, the only thing left to do is run your application. To run your application and observe Cube for WPF's run-time behavior, and then further customize the control, complete the following steps:
1. From the Debug menu, select Start Debugging to view how your application will appear at run time.
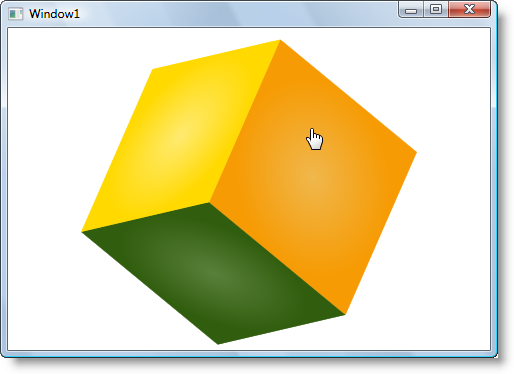
The application will appear similar to the following:
The C1Cube control appears as a simple square. Notice that the red gradient that initially appears is the one added to the Front Face of the cube.
2. Try to click on the C1Cube control to interact with it. Notice that nothing happens. In the next step you'll return to the application to change the initial appearance of the control and make the cube interactive.
3. Close the window and return to the project in Visual Studio.
4. Select C1Cube1 in Design view and navigate to the Properties window.
5. In the Properties window, check the IsDraggable check box to allow the cube to be dragged at run time.
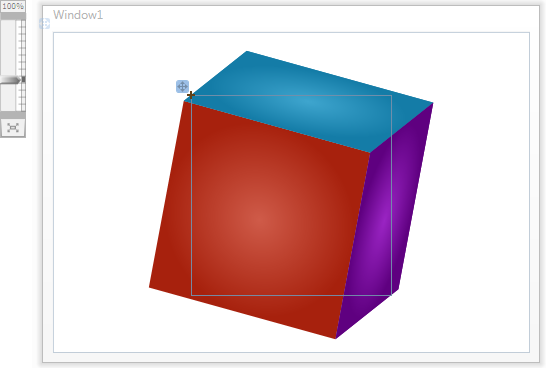
6. In the Properties window, change the initial angle of the cube by setting the RotationX, RotationY, and RotationZ properties to 15.
The control will now appear similar to the following image in Design view:
7. From the Debug menu, select Start Debugging to view the application. Notice that the cube initially appears at an angle.
8. Click the cube and notice that you can now rotate the cube when performing a drag-and-drop operation:
Congratulations! You've completed the Cube for WPF quick start and created a simpleWPF application, added and customized a Cube for WPF control, and viewed some of the run-time capabilities of the control.