In this step you'll create a WPF application using DropDown for WPF. When you add a C1DropDown control to your application, you'll have a complete, functional drop-down box-like interface that you can add images, controls, and other elements to. To set up your project and add a C1DropDown control to your application, complete the following steps:
1. Create a new WPF project in Visual Studio.
2. In the Solution Explorer, right-click the References item and choose Add Reference. Select the C1.WPF and WPFToolkit assemblies and click OK to add references to your project.
3. Navigate to the Visual Studio Toolbox, and double-click the C1DropDown icon to add the control to the window.
4. Resize the Window and reposition the C1DropDown control in the Window.
5. Navigate to the Properties window and set the C1DropDown control’s Height to 30 and Width to 100.
The XAML will appear similar to the following:
<c1:C1DropDown Name="C1DropDown1" Height="30" Width="100" />
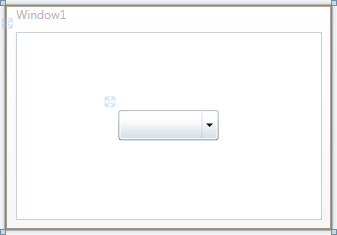
The page's Design view should now look similar to the following image (with the C1DropDown control selected on the form):
You've successfully set up your application's user interface, but if you run your application now you’ll see that the C1DropDown control currently contains no content. In the next step you'll add content to the C1DropDown control, and then you'll observe some of the run-time interactions possible with the control.