To add a header and footer template to C1Calendar, use the Template Editing designer. Complete the following steps:
1. Add a C1Calendar to your page.
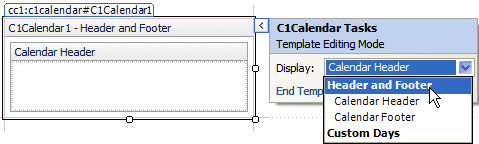
2. Click on the smart tag to open the C1Calendar Tasks menu and click on Edit Templates.
3. In the Display drop-down box, select Header and Footer.
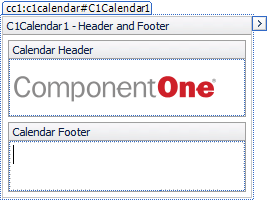
4. Click inside the Calendar Header box to make it active, then add an Image ASP.NET control inside the Calendar Header pane.
The Image control is added to the C1Calendar1.HeaderandFooter.Calendar Header object.
5. Click on the ellipsis button next to the ImageUrl property in the C1Calendar1.HeaderandFooter.Calendar Header.Image1 Properties window. The Select Project Item dialog box appears.
6. Locate the folder that you have your images stored in from the Project folders: pane and open the desired image.
The image appears in the Calendar Header template.
7. Click inside the Calendar Footer box to make it active, then add an ASP.NET Image control inside the Calendar Footer pane.
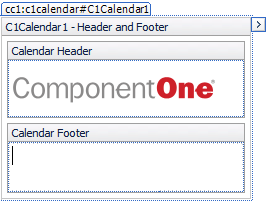
The Image control is added to the C1Calendar1.HeaderandFooter.CalendarFooter object.
8. Click on the ellipsis button next to the ImageUrl property in the C1Calendar1.HeaderandFooter.Calendar Footer.Image2 Properties window. The Select Project Item dialog box appears.
9. Locate the folder that you have your images stored in from the Project folders: pane and open the desired image.
The image appears in the Calendar Footer template.
10. In the C1Calendar Tasks menu select End Template Editing to end the template editing mode and return to the C1Calendar control.
![]() This Topic Illustrates the Following:
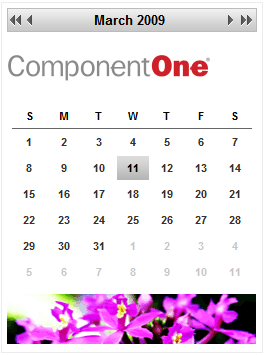
This Topic Illustrates the Following:
Run the project and notice the Header and Footer template applied to C1Calendar.
|