Once you've installed ComponentOne IntelliSpell, use any one of the following methods to start spell checking your projects in Visual Studio:
•From the Visual Studio menu:
Select Tools | ComponentOne
IntelliSpell.
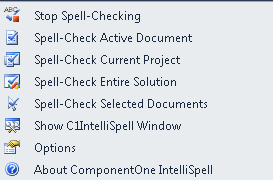
•From the ComponentOne IntelliSpell Visual Studio
toolbar:
Right-click an empty part of the Visual Studio toolbar area and make
sure the ComponentOne IntelliSpell toolbar is checked. Then select a
command from the toolbar to begin spell checking.
![]()
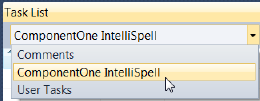
•From the Visual Studio Task List:
Select View | Task ist and
make sure the ComponentOne IntelliSpell item is selected on the list.
All spell-checking options offer the same commands:
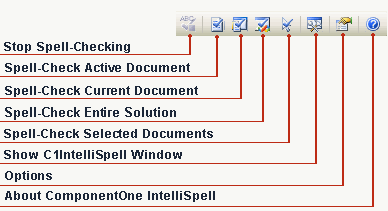
•Stop Spell Checking – Stops spell checking. •Spell-Check Active Document – Spell-checks the document that is currently open in the editor. If the document is a code file, any associated files (such as designer and resource files) are also spell-checked. •Spell-Check Current Project – Spell-checks all files in the current project. •Spell-Check Entire Solution – Spell-checks all files in the current solution. •Spell-Check Selected Documents – Spell-checks all documents that are selected in the Project Explorer window. •Show C1IntelliSpell Window – Shows a dialog box that enables you to view each mispelled word one at a time and lists suggestions for the mispelled words. A Previous, Next, Ignore All, Add, Change, and Change All command buttons are provided in the dialog box. •Options – Shows a dialog box that allows you to select several spell-checking options. •About ComponentOne IntelliSpell – Shows the About ComponentOne IntelliSpell dialog box that contains information about the current version of the Professional Edition, whether to upgrade and update options. |
|
The ComponentOne IntelliSpell toolbar offers the following commands: