
In the last step, you created the settings page and added a C1ViewPort control to it. In this step, you will add a C1NavigationList control and navigation list items to the settings.aspx page.
Part 1: Add the C1NavigationList Control to the C1ViewPort Control
Complete the following steps:
1. Click inside the content area of the C1ViewPort control.
2. Navigate to the Visual Studio Toolbox and double-click the C1NavigationList icon.
A C1NavigationList control is added to the C1ViewPort control's content area.
3. Right-click the C1NavigationList control to open its context menu and then select Properties.
4. The Properties window opens with C1NavigationList's properties in focus.
5. Set the following properties:
•Set the OnClientItemClick property to "ItemClicked".
•Set the NavigationListType property to RoundedCornersList.
Part 2: Create Navigation List Groups
Complete the following steps:
1. Click the C1NavigationList's
smart tag (![]() ) to open the
C1NavigationList Tasks Menu and then select Edit Navigation
List.
) to open the
C1NavigationList Tasks Menu and then select Edit Navigation
List.
The C1NavigationList Designer Form opens.
2. With C1NavigationList1 selected in the treeview, click the Add Child Item drop-down arrow and select Group.
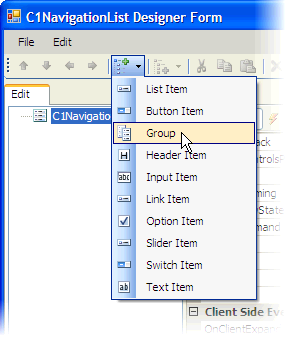
Group01 is added to the treeview.
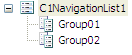
3. Repeat the previous step.
Group02 is added to the treeview. At this point, the treeview will look as follows:
4. Select Group01 to open its properties in the Properties grid and then set the Text property to "Security".
5. Select Group02 to open its properties in the Properties grid and then set the Text property to "Browsing History".
Part 3: Add Items to the Security Group
Complete the following steps:
1. With Security selected in the treeview, click the Add Child Item drop-down arrow and select Switch Item.
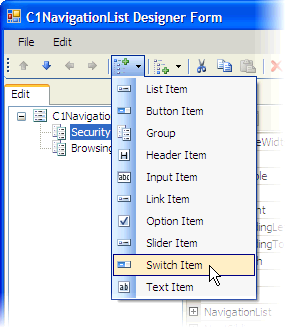
SwitchItem01 is added as a child item.
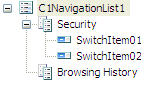
2. Repeat the previous step once.
SwitchItem02 is added as a child item. At this point, the treeview will look as follows:
3. In the treeview, right-click SwitchItem01 and type in "JavaScript".
4. In the treeview, right-click SwitchItem02 and type in "Pop-Ups".
Part 4: Add Items to the Browsing History Group
Complete the following steps:
1. With Browsing History selected in the treeview, click the Add Child Item drop-down arrow and select Button Item.
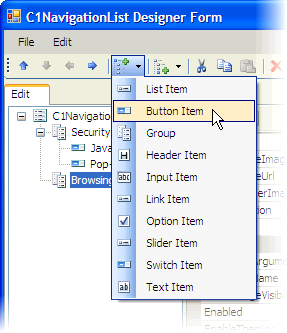
ButtonItem01 is added beneath Browsing History.
2. Repeat the previous step twice to add two more button items to the list.
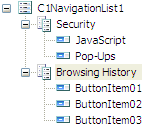
ButtonItem02 and ButtonItem03 are added beneath Browsing History. At this point, the treeview will look as follows:
3. Select ButtonItem01 to reveal its properties in the Properties grid and set the following properties:
•Set the CommandName property to "history".
•Set the Text property to "Clear History".
4. Select ButtonItem02 to reveal its properties in the Properties grid and set the following properties:
•Set the CommandName property to "cookie".
•Set the Text property to "Clear Cookies".
5. Select ButtonItem03 to reveal its properties in the Properties grid and set the following properties:
•Set the CommandName property to "cache".
•Set the Text property to "Clear Cache".
6. Click OK to close the C1NavigationList Designer Form.
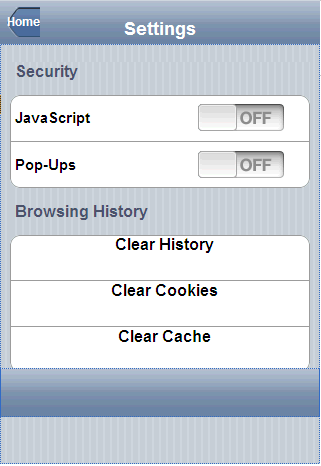
The C1LaunchPad control resembles the following:
In the next step, you will add behaviors to the Clear History, Clear Cookies, and Clear Cache buttons that you created in this step.