In this step you'll begin in Visual Studio to create a WPF application using MaskedTextBox for WPF. When you add a C1MaskedTextBox control to your application, you'll have a complete, functional input editor. You can further customize the control to your application.
To set up your project and add C1MaskedTextBox controls to your application, complete the following steps:
1. Create a new WPF project in Visual Studio.
2. Resize the initial window by setting Window1's Width to "400".
3. Navigate to the Toolbox and double-click the C1MaskedTextBox icon to add the control to Window1. Repeat this step 3 more times to add a total of 4 C1MaskedTextBox controls.
4. In the Toolbox, double-click the Label icon to add the control to Window1. Repeat this step 4 more times to add a total of 5 standard Label controls.
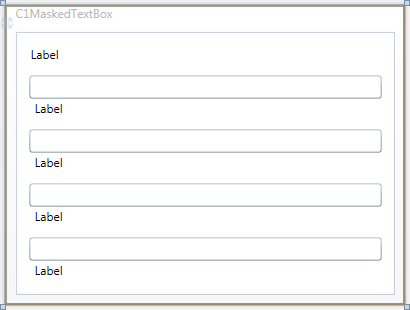
5. Resize the controls and rearrange the controls on the window with the controls numbered smallest to largest from top to bottom alternating Label and C1MaskedTextBox controls. Your application should now appear similar to the following:
You've successfully created a WPF application and added C1MakedTextBox controls to the application. In the next step you'll customize those controls and complete setting up the application.