Installing Studio for LightSwitch
Before installing ComponentOne Studio for LightSwitch, make sure you have downloaded and installed Visual Studio LightSwitch at http://www.microsoft.com/visualstudio/en-us/lightswitch. If you have older versions of ComponentOne LightSwitch extensions installed, you should uninstall them before beginning.
To install Studio for LightSwitch:
1. Double-click on C1StudioLightSwitch.versionnumber.exe.
2. Follow the Wizard to install.
3. Once the installation is complete, click Close.
The install will automatically place the C1BulbChanger command in the Tools menu of the available version(s) of Visual Studio. The C1BulbChanger is an add-in for repairing LightSwitch projects that use C1 extensions (see the release notes for more information). It works with both Visual Studio 2010 and Visual Studio 2012, and is intended to solve the following problems:
1. Upgrading projects that were created with OLAP for LightSwitch version 1.0.20121.11 or earlier.
2. Resolving ComponentOne assembly references tied to specific version numbers.
3. Visual Studio 2012: Correcting system assembly references for applications that use FlexGrid for LightSwitch (any version) or OLAP for LightSwitch (version 1.0.20121.14 or later).
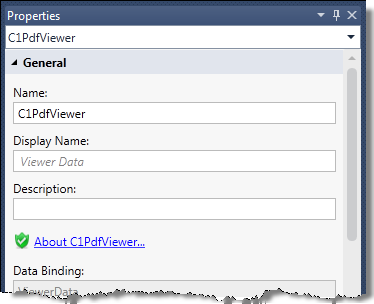
Please note: Even if you activate your license during installation, the first time you run a new PdfViewer application, a reminder screen will appear. To prevent that from happening, open the LightSwitch screen designer, select the C1PdfViewer node, and save the screen. In the Properties window, you should see a green shield icon next to the About C1PdfViewer link. This indicates that C1PdfViewer is licensed. You need to do this for every PdfViewer screen you create, and every screen property that you replace with C1PdfViewer.
