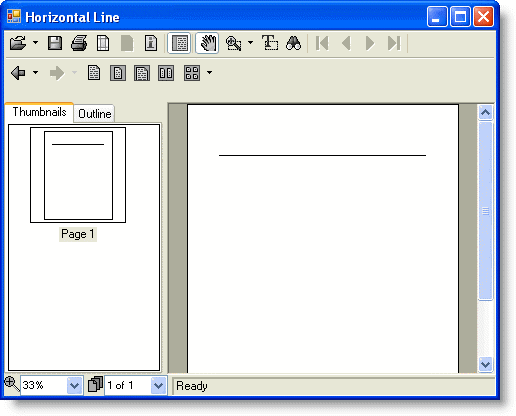
Drawing a horizontal line in C1PrintDocument shows how to draw a horizontal line using the RenderLine object.
1. Create a new Windows Forms application. Drag and drop a C1PrintPreview control onto your form. Drag and drop a C1PrintDocument component onto your form – it will appear in the components' tray below the form. The preview will have the default name c1PrintPreview1, the document c1PrintDocument1. Set the value of the Document property of c1PrintPreview1 control to c1PrintDocument1, so that the preview will show the document when the application runs. Double click on the form to create a handler for the Form_Load event – this is where all code shown below will be written.
2. A line can be drawn in C1PrintDocument using the RenderLine render object. Its two main properties are the two points – the start and the end of the line. Because we will render the line into the block flow, and want it to be horizontal, we leave the Y coordinates of the two points as default zeroes. The start X coordinate is also left at zero. The end coordinate is set to the page width. This will result in a RenderLine object that renders a horizontal line across the whole page at the current Y coordinate of the block flow:
Me.C1PrintDocument1.StartDoc()
Dim rl As New C1.C1PrintDocument.RenderLine(Me.C1PrintDocument1)
rl.X2 = Me.C1PrintDocument1.PrintableAreaSize.Width
Me.C1PrintDocument1.RenderBlock(rl)
Me.C1PrintDocument1.EndDoc()
• C#
this.c1PrintDocument1.StartDoc();
C1.C1PrintDocument.RenderLine rl = new RenderLine(this.c1PrintDocument1);
rl.X2 = this.c1PrintDocument1.PrintableAreaSize.Width;
this.c1PrintDocument1.RenderBlock(rl);
this.c1PrintDocument1.EndDoc();
Run the program and observe the following:
Your C1PrintDocument should appear like this:

|
