In this topic, you will learn how to apply different font styles to the two panels of a C1Splitter control using CSS styles. To apply a different font style and color to each panel, you will create a separate CSS class for Panel1 and Panel2 and apply values to the font-style, font-family, font-size, and color properties.
Complete the following steps:
1. Add a C1Splitter control to your Web project.
2. In Solution Explorer, right-click on the project name and select Add New Item.
The Add New Item dialog box appears.
3. In the Add New Item dialog box, complete the following tasks:
a. From the Templates pane, select Style Sheet.
b. Enter "BorderStyle.css" into the Name field.
c. Press Add to close the Add New Item dialog box.
FontStyles.css is added to your project.
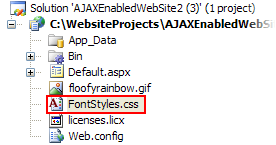
4. In Solution Explorer, double-click FontStyles.css to open the file in Visual Studio. The CSS body style appears by default:
5.
body {
}
6. Place the following CSS code after the right bracket of the body style:
.Panel1_Font
{
font-family:Georgia;
font-style:oblique;
font-size:medium;
color:Red;
text-align:center;
}
.Panel2_Font
{
font-family:Arial;
font-style:italic;
font-size:large;
color: #4169E1;
text-align:left;
}
7. Return to the Design view of your .aspx page and complete the following tasks:
a. Place your cursor in Panel1 and enter "This is what the text in Panel1 looks like."
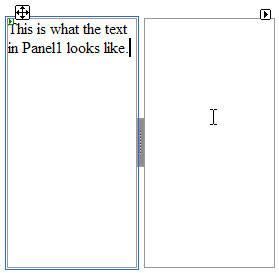
b. Place your cursor in Panel2 and enter "This is what the text in Panel2 looks like."
c. Right-click the C1Splitter control to open its context menu and select Properties.
C1Splitter's properties take focus in the Properties window.
d. Expand Panel1's node and set the CSSClass property to "Panel1_Font".
e. Expand Panel2's node and set the CSSClass property to "Panel2_Font".
8. Now you will have to link the Web project to the FontStyles.css style sheet by calling it in the project's Source code. To link the style sheet to the project, click the Source tab to switch to Source view and place the following line of code between the <head> tags:
<link href="FontStyles.css" type="text/css" rel="stylesheet"/>
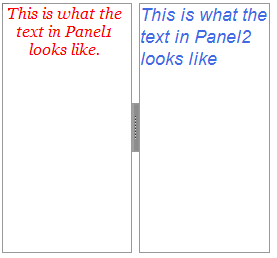
9. Press F5 to run the program and observe that each panel has a distinctive font style.
![]() This Topic Illustrates
the Following:
This Topic Illustrates
the Following:
In this topic, you've added font styles to each panel of the C1Splitter control. The final product will resemble the following image.
|