The WebEditor for ASP.NET Quick Start will lead you through the creation of a Web form that uses the C1WebEditor control. In the following steps, you will add the C1WebEditor control to your project, customize the control's appearance using the designer, and run the application. To begin, create a new ASP.NET AJAX-Enabled Web Site and complete the following steps:
1. Click the Design tab located below the Document window to switch to Design view.
2. From the Toolbox, double-click the C1WebEditor control to add it to the Web form.
By default, the Editor shows all toolbars:
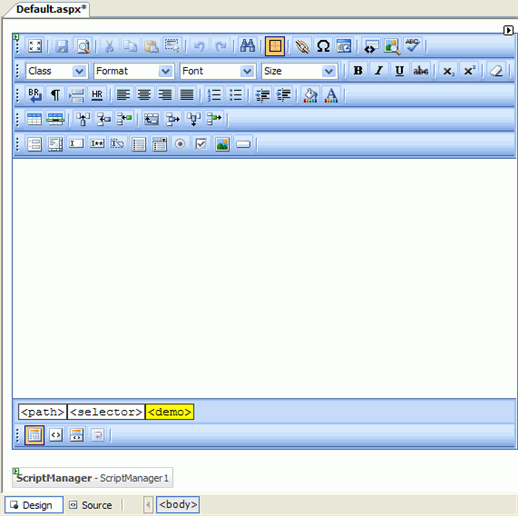
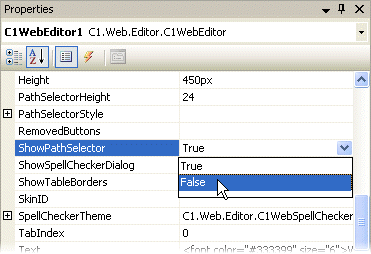
3. If you want to hide the path selector (the control at the bottom of the editor that shows "<path><selector><demo>"), set the ShowPathSelector property to False in the Properties window:
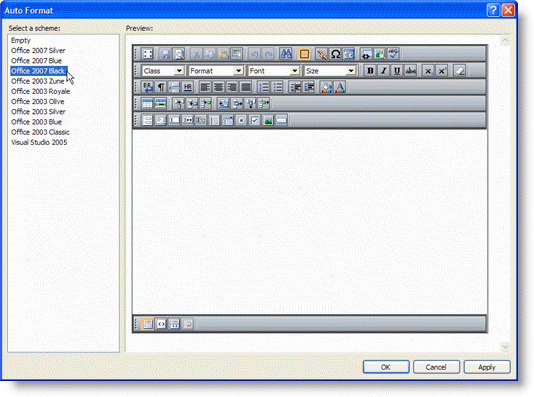
4. C1WebEditor
features Office 2007-style auto format styles. To change the style, click the
smart tag (![]() ) and select
the Auto Format link from the Tasks menu. The Auto Format dialog
box appears.
) and select
the Auto Format link from the Tasks menu. The Auto Format dialog
box appears.
5. Select a scheme from the list; for example, Office 2007 Black. Click OK to accept the new auto format.
6. At design time, you can also choose your initial EditorMode. You can choose between WYSIWYG, Code, or Split view. For this example, set the EditorMode property to Split. Complete the following steps:
a. Click the
smart tag (![]() ) and select
the Property builder link from the Tasks menu.
) and select
the Property builder link from the Tasks menu.
b. In the C1WebEditor Properties editor, select the Editor item on the left pane.
c. Select the Editor mode drop-down arrow and select Split.
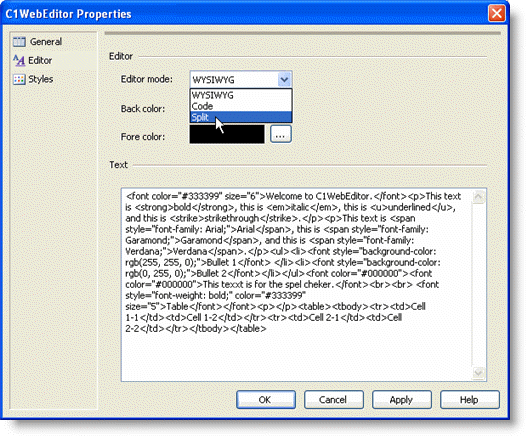
Note: In the property builder's Editor pane, you can also change the text that initially appears in the WebEditor's text window by modifying the HTML in the Text box.
d. Click OK to close the property builder.
7. Press CTRL + F5 to run your application.
This topic illustrates the following:
Notice the following modifications:
• The path selector ("<path><selector><demo>") does not appear.
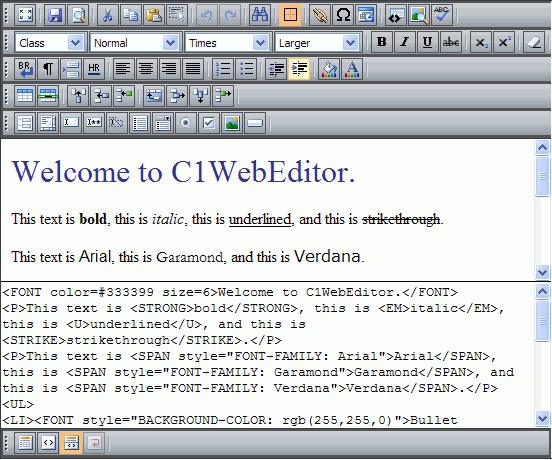
• You can see both views, Design and Source, for the same document in a single window using this Split mode.
• The WebEditor uses the Office 2007 Black style.
The following image shows the C1WebEditor Web form after completing the customization at design time:
|