Now that you've created a schedule application, bound the schedule to a datasource, and customized the schedule's appearance in Blend, the only thing left to do it run the application.
To run the schedule application and observe Scheduler for WPF's run-time behavior:
1. Press F5 or select Test Solution from the Project menu. The schedule appears.
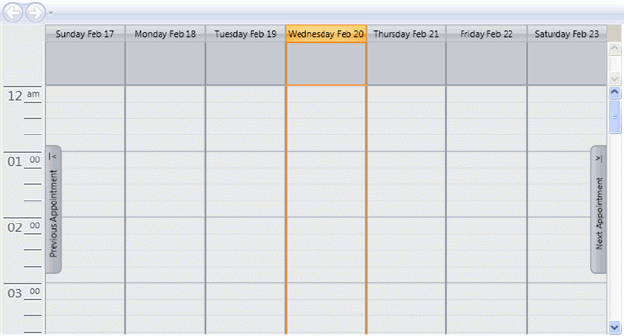
If you click the Previous Appointment tab, the most recent appointment from the database bound to the schedule appears.
2. Set up an appointment by double-clicking the time for the appointment under the desired day. In this example, create an appointment for 9AM on Wednesday, February 20th. The Appointment dialog box opens. Notice that the High and Low Importance buttons are not there because you removed them in your customized template.
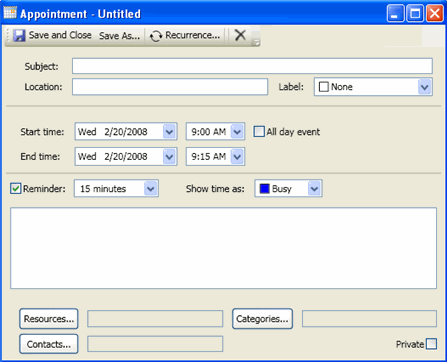
3. Enter a Subject, Location, and End time.
4. Click the drop-down arrow next to the Label and select Personal.
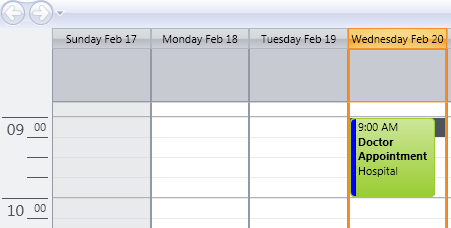
5. Click the Save and Close button. The appointment now appears in the schedule.
Congratulations! You've completed the Scheduler for WPF quick start and created a Scheduler for WPF application, bound the schedule to a data source, customized the Appointment dialog box, and created a new appointment.
|