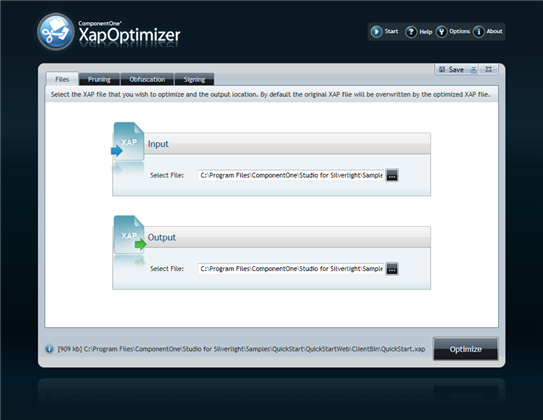
The Files tab is the first screen to open after creating a new project or opening an existing XapOptimizer project. In the Files tab you can select the XAP file that you wish to optimize and select the output location for the optimized file. By default the output file location will be the same as the input file location and the original file will be overwritten by the optimized file.
The Files tab looks similar to the following:

The Files tab includes two sections:
•XAP Input
Select a file here to optimize. The file that you initially selected when you created a new project will be displayed here by default.
•XAP Output
Choose a location for your optimized file to be saved. By default, the file that you initially selected when you created a new project will be displayed here.
Selecting an Input File
To select a different input file to optimize, complete the following steps:
1. Click the ellipsis button in the XAP Input section to open the Open dialog box.
2. In the Open dialog box, browse to the location of your file and select Open to close the dialog box and select your file.
The file you selected will appear in the XAP Input text box.
Selecting an Output File
To change the file output location or the name of the outputted file, complete the following steps:
1. Click the ellipsis button in the XAP Output section to open the Open dialog box.
2. In the Open dialog box, browse to the location where you plan to save your outputted optimized file and select Open to close the dialog box and select your file.
The file you selected will appear in the XAP Output text box.