You can set the displayed page using the CurrentPage property, but you can also use the TurnPage method to change the current page at run time. For more information, see Book Navigation. In this topic you'll add two buttons to your application, one that will turn to the previous page and one that will turn to the next page of the book.
To add additional navigation to your book in Blend, complete the following steps:
1. Navigate to the Toolbox and double-click the Button item twice to add two Button controls to your application.
2. Select the first button, navigate to the Properties window and set the following properties:
•Set Name to "btn_last".
•Set Content to "<".
•Set Height and Width to "28".
3. Select the second button, navigate to the Properties window and set the following properties:
•Set Name to "btn_next".
•Set Content to ">".
•Set Height and Width to "28".
4. Relocate the buttons by setting their Margin properties. Place the btn_last button to the left of the book, and the btn_next button to the right of the book.
5. Select the left button, navigate to the Properties window, click the lightning bolt Events button, and double-click the text box next to the Click item to create the Button_Click event handler and switch to Code view.
6. Return to Design view and repeat the previous step with the right button so each button has a Click event specified.
The XAML markup will appear similar to the following:
<Button x:Name="btn_last" HorizontalAlignment="Left" Margin="49,223,0,229" Width="28" Height="28" Content="<" Click="btn_last_Click"/>
<Button x:Name="btn_next" HorizontalAlignment="Right" Margin="0,224,49,228" Width="28" Height="28" Content=">" Click="btn_next_Click"/>
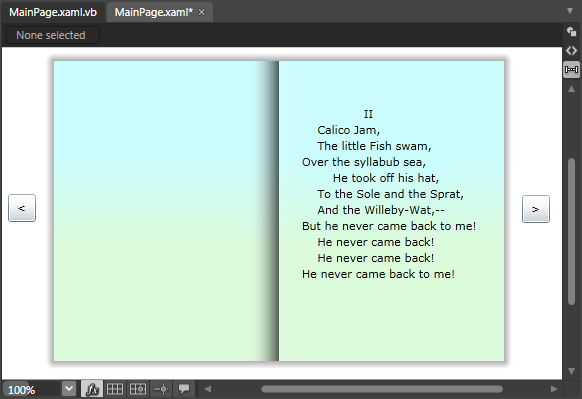
The page should now look similar to the following:
7. Switch to Code view and add the following import statements to the top of the page:
Imports C1.Silverlight
Imports C1.Silverlight.Extended
•C#
using C1.Silverlight;
using C1.Silverlight.Extended;
8. Add code to the Click event handlers so they look like the following:
Private Sub btn_next_Click(ByVal sender as Object, ByVal e as System.Windows.RoutedEventArgs)
Me.c1book1.TurnPage(True)
End Sub
Private Sub btn_last_Click(ByVal sender as Object, ByVal e as System.Windows.RoutedEventArgs)
Me.c1book1.TurnPage(False)
End Sub
•C#
public MainPage()
{
private void btn_next_Click(object sender, System.Windows.RoutedEventArgs e)
{
this.c1book1.TurnPage(true);
}
private void btn_last_Click(object sender, System.Windows.RoutedEventArgs e)
{
this.c1book1.TurnPage(false);
}}
This code will turn the book a page forward or back depending on the button clicked.
What You've Accomplished
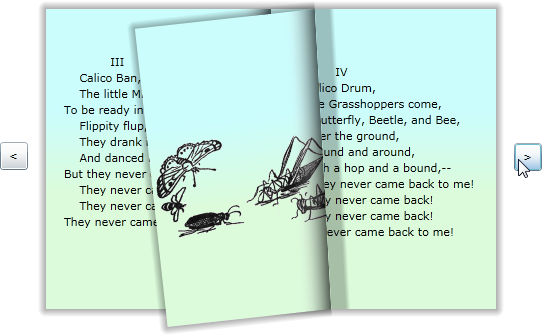
You've customized navigation in the book. To view the book's navigation, run the application and click the right button. Notice that the page turns to the next page with a page turning animation:
Click the left button and observe that the book returns to the previous page.