In the previous steps, you created a Silverlight project with a C1Maps control, created a data source, added a C1VectorLayer and a C1VectorPlacemark to the C1Maps control, and then bound the data source to properties of the C1VectorPlacemark.
Complete the following steps:
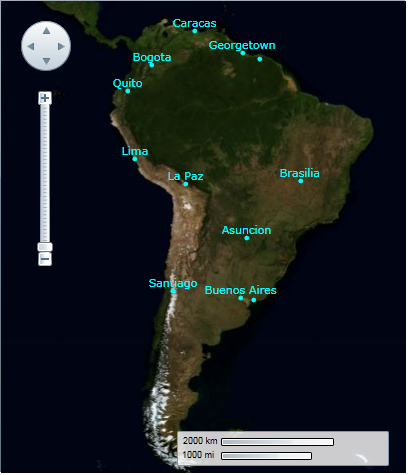
1. Press F5 to run the project and observe that the C1Maps control appears as follows:
Observe that there are two dots, one near Buenos Aires and the other in the vicinity of Georgetown, that don't have names next to them.
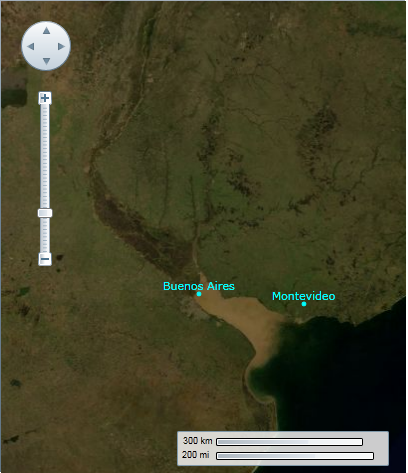
2. Double-click in the area of Buenos Aires. Repeat this step twice and observe that another label, one marking Montevideo, appears on the map.
Congratulations! You have completed the Maps for Silverlight quick start. We recommend that you continue to familiarize yourself with the control by visiting the C1Maps Control Basics and Maps for Silverlight Task-Based Help sections of the Help file.