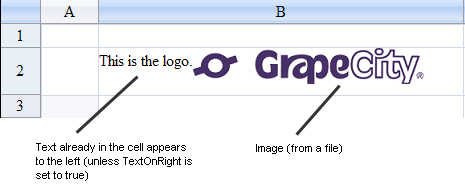
An image cell can contain a graphic image from a file. The cell may or may not already have text associated with it. The text can be displayed to the right or the left of the image in the cell.

To create a cell that contains an image, follow this procedure.
For details on the properties and methods for this cell type, refer to the ImageCellType class in the Assembly Reference.
Using Code
- Define the image cell type by creating an instance of the ImageCellType class.
- Set the text to appear to the left or right of the image.
- Assign the image cell to a cell (or cells).
Example
This example sets the column and width of the cell so that the image and text can appear together alongside each other, sets the cell type to image cell, and sets the defined text to appear to the left of the graphic image.
| C# |  Copy Code Copy Code |
|---|---|
FpSpread1.Sheets[0].Columns[1].Width = 240; FpSpread1.Sheets[0].Rows[1].Height = 50; FarPoint.Web.Spread.ImageCellType imagecell = new FarPoint.Web.Spread.ImageCellType(); imagecell.ImageUrl = "images\fplogo.jpg"; imagecell.TextOnRight = false; // display text to left of image FpSpread1.ActiveSheetView.Cells[1,1].Text="This is the logo."; FpSpread1.ActiveSheetView.Cells[1,1].CellType = imagecell; |
|
| VB |  Copy Code Copy Code |
|---|---|
FpSpread1.Sheets(0).Columns(1).Width = 240 FpSpread1.Sheets(0).Rows(1).Height = 50 Dim imagecell As New FarPoint.Web.Spread.ImageCellType() imagecell.ImageUrl = "images\fplogo.jpg" imagecell.TextOnRight = false FpSpread1.ActiveSheetView.Cells(1,1).Text="This is the logo." FpSpread1.ActiveSheetView.Cells(1,1).CellType = imagecell |
|
Using the Spread Designer
- In the work area, select the cell or cells for which you want to set the cell type.
- Select the Home menu.
- Select the SetCellType icon under the CellType section.
- Select the cell type and any other cell properties.
- Select OK to close the dialog.
- Click Apply and Exit to close the Spread Designer.


