In this step you'll create a simple application using the C1Gauge control. You'll then customize the appearance of your application in Design view without adding any code to your project.
To begin, complete the following steps:
1. Begin by creating an ASP.NET AJAX-Enabled Web Site. Note that if using Visual Studio 2008, you must add a ScriptManager control to the form. If using Visual Studio 2005, the ScriptManager control is automatically added to the form.
2. While in Design view, navigate to the Visual Studio Toolbox and double-click the C1Gauge control to add it to your form.
Note: If the control is not appearing correctly, make sure you have a reference to the C1.Web.UI.Design.2.dll installed with the product in your project.
3. Navigate to the Toolbox and double-click the C1Gauge item to add a C1Gauge control to the form.
4. Click the C1Gauge smart tag to open the C1Gauge Tasks menu, and select Add New Gauge. The New Gauge Gallery dialog box appears.
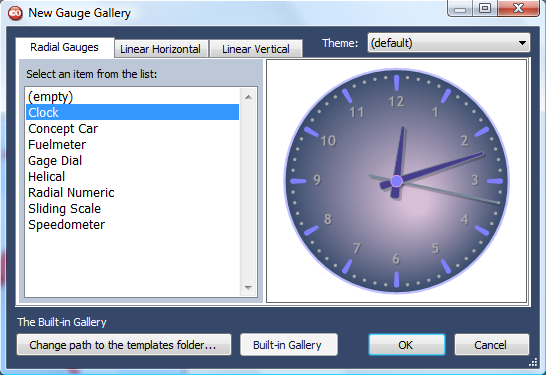
In this dialog box you can choose the initial appearance of your gauge from default or existing custom templates.
5. On the Radial Gauges tab, select (empty).
6. Click OK to close the dialog box.
What You've Accomplished
In this step you created an application and added a C1Gauge control to the form. The gauge is currently displayed with default settings; in the next step you'll further customize the appearance of the control.
|