


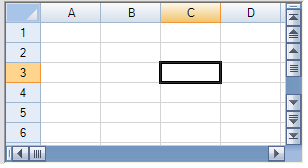
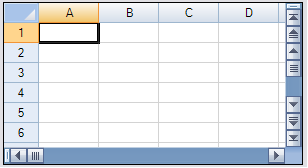
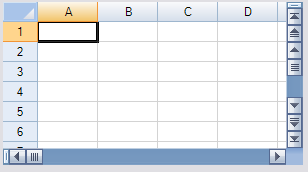
You can set the appearance of the outline of the overall component. The following figures show the types of outlines (or border) styles.
| Outline (Border) Style | Example |
|---|---|
| Fixed, three-dimensional (default) |
|
| Fixed, single-line |
|
| None |
|
For more details, refer to the FpSpread.BorderStyle property and the BorderStyle enumeration in the Microsoft .NET Framework.
Return to Customizing the Overall Component Appearance.
Using the Properties Window
This way of setting the border is done at design time and uses the Properties window of Visual Studio .NET.
- Select the Spread component.
- With the properties window open, in the Appearance category, select the Border Style property.
- Select a value from the drop-down list. Press Enter. The new property is now set.
Using Code
This way of setting the border is done in code and is not seen until run time.
Add a line of code that sets the specific property, the BorderStyle property of the FpSpread class.
Example
This example shows how to set the border to be a single-line border.
| C# |  Copy Code Copy Code |
|---|---|
fpSpread1.BorderStyle = BorderStyle.FixedSingle; |
|
| VB | Copy Code |
|---|---|
FpSpread1.BorderStyle = BorderStyle.FixedSingle |
|
Using the Spread Designer
- In the property list, in the Appearance category, select the BorderStyle property.
- From the drop-down list, select the border style.
- From the File menu, select Apply and Exit to apply your changes to the Spread component and exit Spread Designer.