In this tutorial, you will learn how to bind True DBGrid to a DataSet and create a fully functional database browser. You will also learn about the basic properties of the True DBGrid and then be able to run the program and observe the run-time features of the grid.
![]() A video is
available for this tutorial on the ComponentOne Videos Web page.
A video is
available for this tutorial on the ComponentOne Videos Web page.
1. Start a new .NET project.
2. Open the toolbox,
which is initially located on the left side of the IDE and has a hammer and a
wrench as its icon. From the Toolbox, locate and double-click the C1TrueDBGrid
icon ![]() .
.
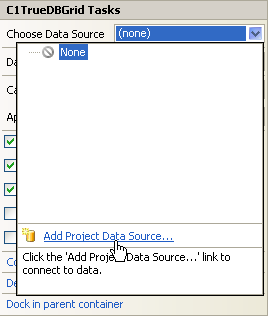
The grid is added to the form and the C1TrueDBGrid Tasks menu appears.
3. In the menu, select the Choose Data Source drop-down arrow and click Add Project Data Source.
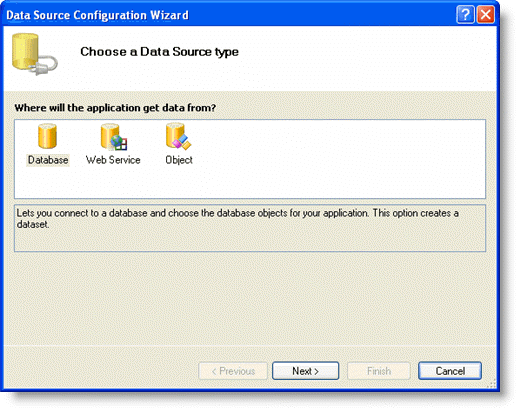
4. The Data Source Configuration Wizard appears and Database is selected. Click Next.
5. Click the New Connection button to locate and connect to a database.
6. Click the Browse button and locate TDBGDemo.mdb in the C:\Program Files\ComponentOne Studio.NET 2.0\common directory. Select it and click Open.
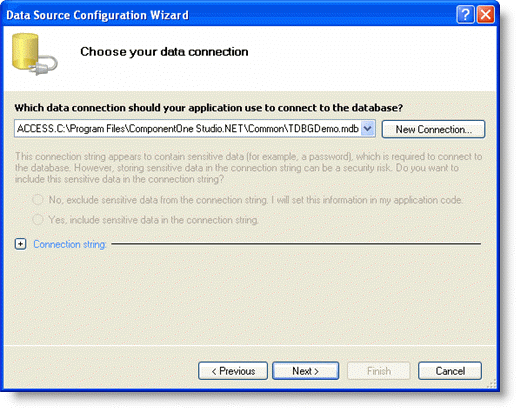
7. Click the Test Connection button to make sure that you have successfully connected to the database or server and click OK. The new string appears in the data connection drop-down list.

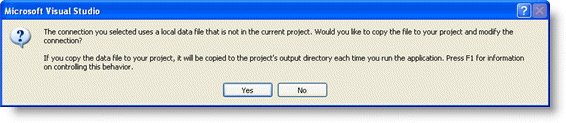
8. Click the Next button to continue. A dialog box will appear asking if you would like to add the data file to your project and modify the connection string. Click No.
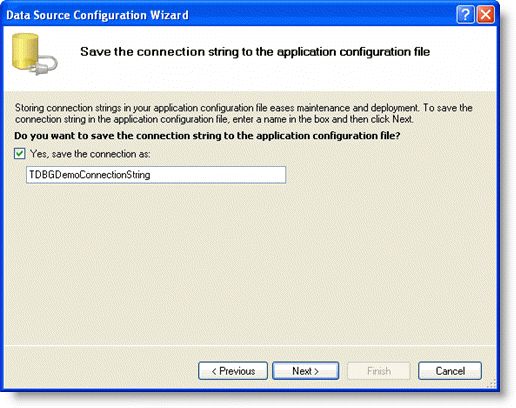
9. In the next window, the Yes, save the connection as checkbox is checked by default and a name has been automatically entered in the text box. Click Next to continue.
10. In the Choose Your Database Objects window, select the tables and fields that you would like in your dataset.
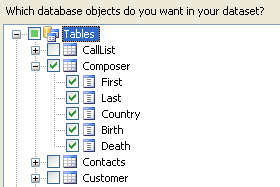
The DataSet is given a default name in the DataSet name textbox.
11. Click Finish to exit the wizard. The DataSet, BindingSource and TableAdapter now appear on your form.
12. Resize the grid and double-click the form. Notice that Visual Studio has added the following code to the Form_Load event:
Me.ComposerTableAdapter.Fill(Me.DsComposer.Composer)
· C#
this.ComposerTableAdapter.Fill(this.DsComposer.Composer);
· Delphi
Self.ComposerTableAdapter.Fill(Self.DsComposer.Composer);
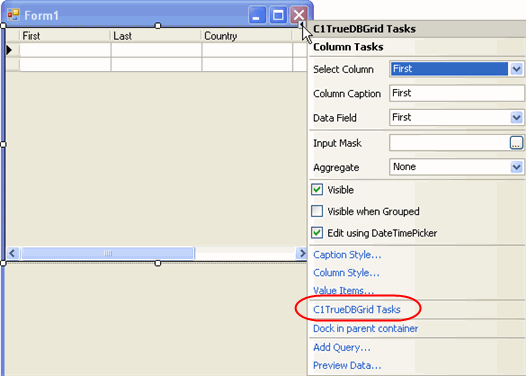
13. Click the Design tab to return to the designer and then select the grid.
14. Open the C1TrueDBGrid Tasks menu and select C1TrueDBGrid Tasks.
15. Check the Enable Adding and Enable Deleting checkboxes. This sets the AllowAddNew and AllowDelete properties of C1TrueDBGrid1 to True, enabling the user to add or delete records in the grid.
Run the program and observe the following:
· True DBGrid retrieves the database schema information from the DataSet and automatically configures itself to display all of the fields contained in the database table. Note that the field names are used as the default column headings.
· True DBGrid automatically communicates with the DataSet. Any actions taken on the DataSet will be reflected in the grid.
· A fully functional database browser has been created by only writing four lines of simple code.
Refer to Run-Time Interaction and try out the instructions for navigating, editing, and configuring the grid at run time.
To end the program, close the window or press the stop button on the Visual Basic toolbar.
Congratulations, you have successfully completed the tutorial!
|
Send comments about this topic to ComponentOne. Copyright © ComponentOne LLC. All rights reserved. |