This quick start tutorial shows you how to get the C1WebTabStrip control ready for the remaining tutorials in this section. By following the steps outlined in the help, you will be able to open a new project, add the C1WebTabStrip component on a Web form, add a new tab header and assign text to it, and test the project.
Note: You can skip this Quick Start if you are familiar with adding the C1WebTabStrip control to a Web form and have some knowledge of how C1WebTabStrip works.
Creating a New Web Site in Visual Studio 2005
The steps below walks you through creating a new ASP.NET web site and adding the C1WebCommand2 tab to the toolbox.
1. Select Microsoft Visual Studio 2005 from the start menu. On the File menu click New Web Site. The New Web Site dialog box appears.

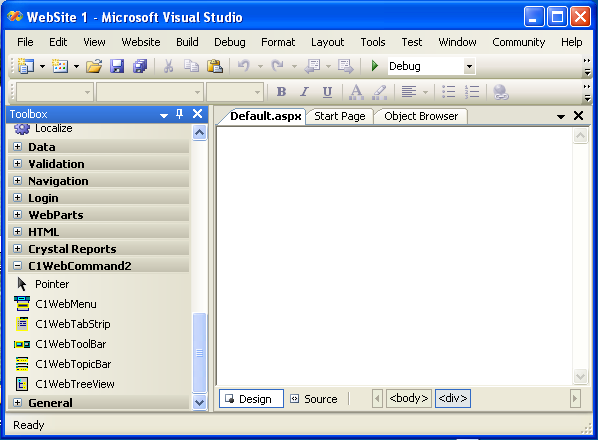
2. Click OK. The new Visual Studio web site project appears.
3. If the Toolbox does not appear then click the View menu and then click Toolbox.
4. Right-click on the toolbox and select Add Tab.
5. Type C1WebCommand2 into the Tab textbox.
6. Right-click on the C1WebCommand2 tab name and click on Choose Items. The Choose Items dialog box appears.
7. Select the .NET Framework Components tab and check all of the components in the C1.Web.Command namespace. Click OK.
8. All of the C1WebCommand2 components are grouped together under the C1WebCommand2 tab in the toolbox.
Adding a C1WebTabStrip Component to the Web Form
The steps below show you how to add the C1WebTabStrip component to the Default.aspx form.
1. Click on the Design view.
2. Select the C1WebTabStrip component from the toolbox and drag it on the Default.aspx web form.
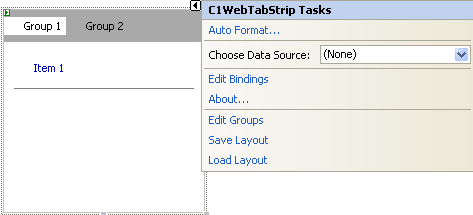
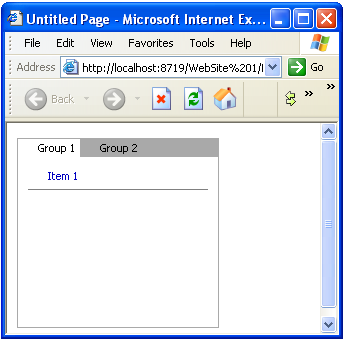
3. The C1WebTabStrip component appears like following image on your web form.
The C1WebTabStrip control is ready to be modified. The next set of steps walks you through adding a new group and a few items for the new group. A common name for a group in a C1WebTabStrip control is called a tab header. The items are known as tab items. The C1WebTabStrip groups will be referred as tab headers in the remaining parts of this tutorial.
Adding a Tab Header to the C1WebTabStrip
The steps below show how to add a new tab header to the C1WebTabStrip control.
1. Click on Edit Groups from the C1WebTabStrip Tasks menu or from C1WebTabStrips short cut menu. The C1WebTabStripGroup Collection Editor appears.
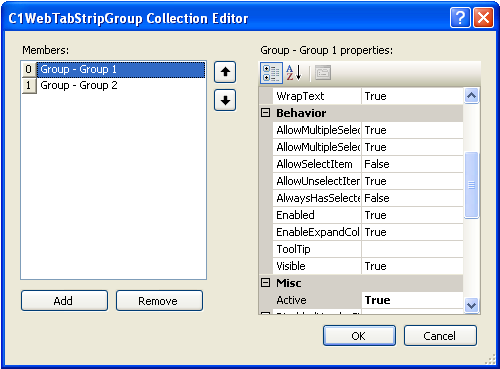
2. Click on the Add button. A new Group/Tab Header appears in the Members list box.
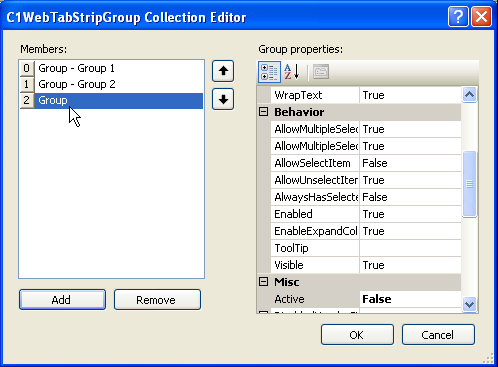
3. Click OK.
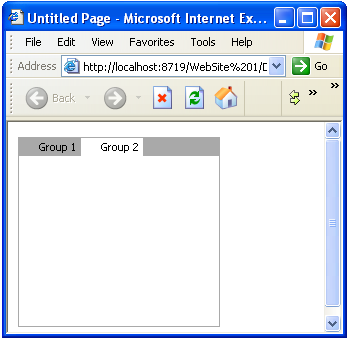
4. Press F5 or click on the Start Debugging icon to run the project. The C1WebTabStrip appears like the following image:
Observing Active and InActive Tab Headers At Run Time
Please make note of the following observations for the C1WebTabStrip:
· Notice how the third tab header that we added earlier does not appear in the Tab Header since we did not assign the text to the Text property.
· Notice how the first tab header, Group 1, stands out more than the second tab header, Group 2. This is because the first tab header is an active tab and the second tab is inactive. A tab header is defined as Active when its Active property = True and its style properties are applied to the ActiveHeaderStyle object. A tab header is defined as inactive when its Active property = False and its style properties are set to the InActiveHeaderStyle object.
· Click on the second tab header, Group 2. The second tab header becomes active from clicking on it. Notice that its background is white like the previous active tab header since it gets the ActiveHeaderStyle property settings.
· Click back to the first tab header to make the first tab header active again. Notice the two default items in the selected tab. The first item is a link item and the second is a separator. Close the running application.
Assigning the Header's Text at Design Time
1. In the designer, right-click on the C1WebTabStrip control and click on Edit Groups. Select the third Group in the C1WebTabStripGroup Collection Editor.
2. Select the Text property, and type Group 3.
3. Click OK.
Observing the Third Header at Run Time
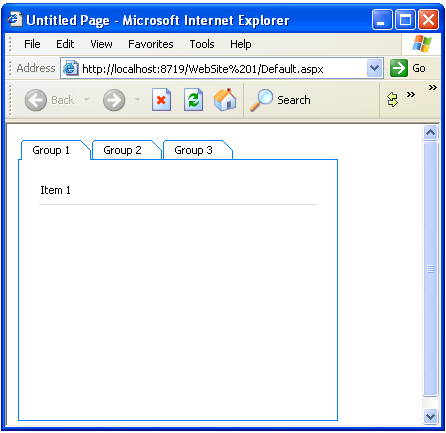
1. Press F5 to run the web application, and then click the Refresh button.
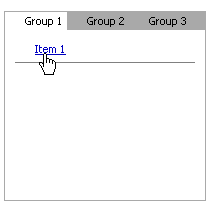
2. The third Group that was added earlier now appears since its Text property was set to Group 3.

3. Click on the link item in the first tab. Notice how there is no action associated with the link item. This is because there is no URL assigned to the NavigateUrl property yet.
4. Close the running application.
Assigning a URL to the Link Item at Design Time
1. In the designer, right-click on the C1WebTabStrip control and click on Edit Groups. Select the first Group in the C1WebTabStripGroup Collection Editor.
2. Click on the ellipsis button next to the Items property.

3. The C1WebTabStripItem Collection Editor appears. Select Item 1 from the Members list box.
4. Expand the Appearance node, and then select the NavigateUrl property.
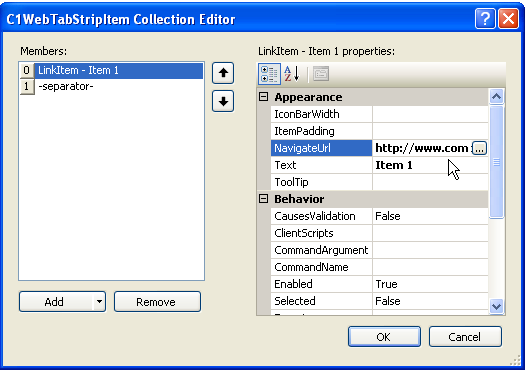
5. Type "http://www.componentone.com" in the NavigateUrl textbox, and thenclick OK.
Observing the Link Item at Run Time
1. Click the Refresh button. The updated C1WebTabStrip appears.
2. Click on the first tab and click on Item 1. The ComponentOne website appears.
3. Close the running project and go back to the designer.
Applying the Pre-formatted Styles to C1WebTabStrip
1. Right click on the C1WebTabStrip and select Auto Format. The Auto Format dialog box appears.
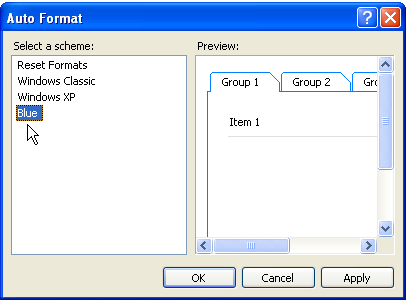
2. Select Blue from the Select a Scheme list box, and then click OK.
3. Run the project and notice the enhanced appearance for the C1WebTabStrip.
This concludes the Quick Start tutorial.
In this Quick Start you learned how to create a new Web site with Visual Studio 2005 and add the C1WebTabStrip control to the Web form, add a tab header and assign text to it, and test your project at run time.
The remaining tutorials provide more detail about programmatically creating a tab, modifying the styles, adding different types of items in the content area of the tab, and adding controls in the content area.
Send comments about this topic to ComponentOne. Copyright © ComponentOne LLC. All rights reserved. |