In the previous steps of the quick start you created a simple grid application, bound the grid to a datasource, and customized the grid's appearance and behavior. In this step you'll run the grid application and explore some of the run-time interactions possible with the C1GridView control.
Complete the following steps to continue:
1. In Visual Studio, select Debug | Start Debugging to run your application.
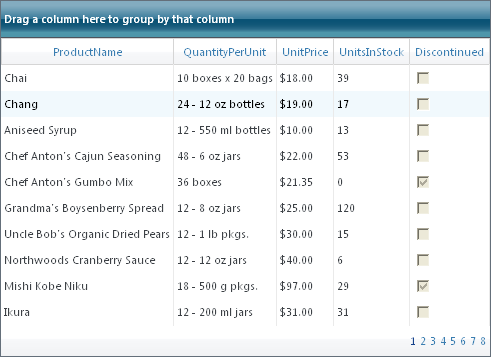
The grid will look similar to the following at run time:
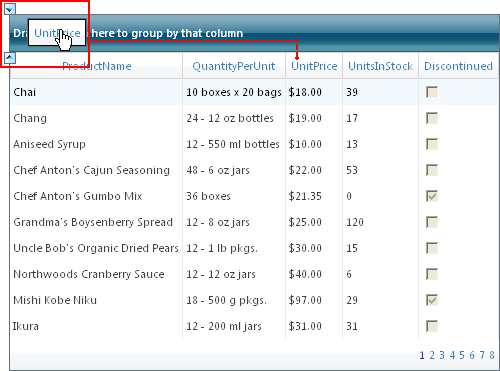
2. To group a column's data, click on a column header and drag it to the grouping area at the top of the grid; arrow indicators will appear indicating the column can be grouped. For example, group the UnitPrice column:
Note that that the grid will be grouped by that column:

3. Ungroup the grid by clicking the column in the grouping area, and dragging it back to the grid header.
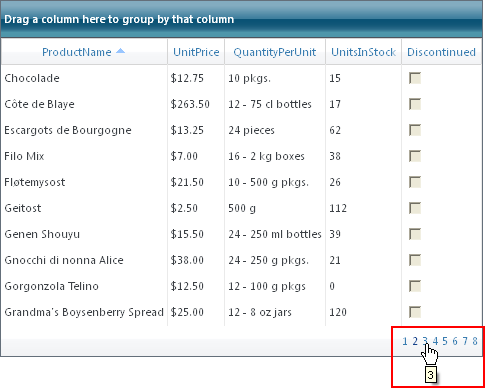
4. Sort a column, by clicking the LinkButton in a column's header. In the following image, the ProductName column has been sorted:
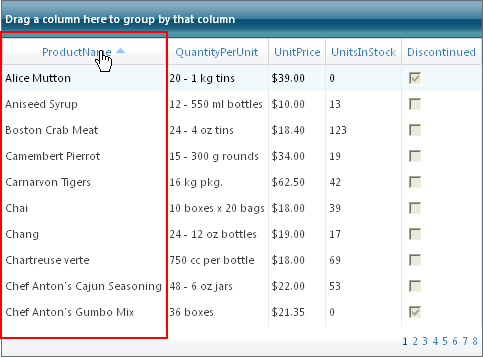
Note that an arrow sort indicator appears in the header of the sorted column.
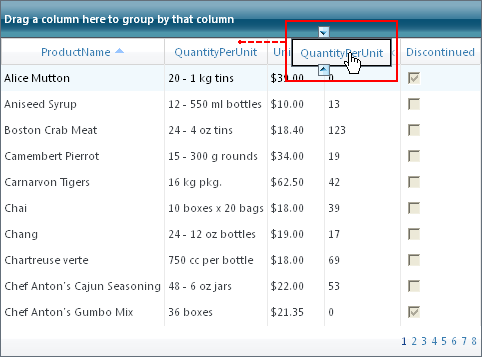
5. Move a column by clicking on a column header once and dragging it to another location in the grid's header. Note that arrow icons will appear indicating that the column can be dropped at that location:
6. Page forward in the grid, by clicking once on a page indicator at the bottom of the grid:
Congratulations! You've completed the C1GridView quick start. If you'd like to continue exploring GridView for ASP.NET AJAX, see the GridView for ASP.NET AJAX Samples and take a look at the GridView for ASP.NET AJAX Task-Based Help topics.
|
