In the previous step, you created the launch page and launch items. In this step, you will create the settings page and then add a C1ViewPort control and launch items to the page.
Complete the following steps:
1. In the Solution Explorer, right-click the project name to open its context menu and select Add New Item.
The Add New Item dialog box opens.
2. From the Templates pane, select Web Form. Name this form "settings.aspx" and click Add.
Note that settings.aspx is the name of the page that you linked to from the Settings launch item you created in Step 2 of 6: Adding the C1LaunchPad Control and Creating Launch Items.
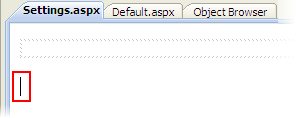
3. Click the Design tab to enter Design view.
4. Place your cursor beneath the div box.
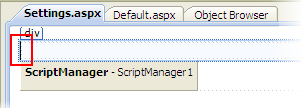
5. Navigate to the Visual Studio Toolbox and then double-click the ScriptManager icon.
The ScriptManager control is added to your project.
6. Place your cursor within the div box.
7. Navigate to the Visual Studio Toolbox and then double-click the C1ViewPort icon.
The C1ViewPort control is added to your project.
8. Click C1ViewPort's
smart tag (![]() ) to open the
C1ViewPort Tasks menu.
) to open the
C1ViewPort Tasks menu.
9. In the C1ViewPort Tasks menu, set the Text property to "Settings".

10. Right-click the C1ViewPort control to open its context menu and select Properties.
The Properties window opens with C1ViewPort's properties in focus.
11. In the Properties window, expand the LeftButton node and set the following properties:
•Set the ButtonType property to Back (it should already be set to this by default).
•Set the Text property to "Home".
In the next step, you will add items to the settings page.