In this step of the quick start, you will set properties of the Timer control, the Button control, and the C1ProgressBar control. You will modify the duration between the Timer’s Tick events; you will set the Button’s Text property; and you will set properties on the C1ProgressBar control that will modify its appearance and behavior.
1. Right-click the Button control to open its context menu and select Properties from the list.
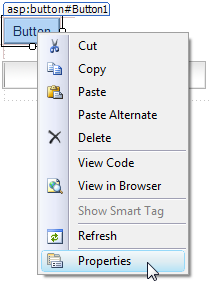
The Properties window opens with the Button control’s properties in focus.
2. Set the Button control’s Text property to “Start Timer”.
3. Click the Properties window drop-down arrow and select Timer1 from the list.
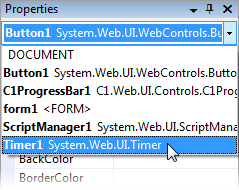
The Timer control’s properties take focus in the Properties window.
4. Set the Timer control’s properties as follows:
• Set the Interval property to “1000”. This will cause the Timer control’s Tick event to be thrown every 1000 milliseconds (1 second).
• Set the Enabled property to False. This will disable the Timer control at run time.
5. Click the Properties window drop-down arrow and select C1ProgressBar1.
6. The C1ProgressBar control’s properties take focus in the Properties window.
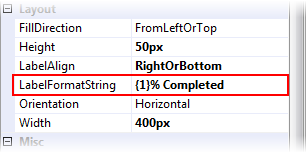
7. Set the C1ProgressBar control’s properties as follows:
• Set the Height property to “50” to increase the height of the control.
• Set the Width property to “400” to increase the width of the control.
• Set the AnimationDuration property to “0” to turn off the control’s animation effects.
• Set the LabelAlign property to RightorBottom to align the label to the right side of the control.
• Set the LabelFormatString property to “{1}% Completed” so that the completed progress is shown on the control’s label at run time.
Step 2 of 4 Completed 
In this step, you configured the Button, Timer, and C1ProgressBar controls by setting their properties. In the next step, you will create two event handlers, Tick event for the Timer control and a Click event for the Button control, and then add behavior-modifying code to the each event handler.
|