
Step 1 of 5: Adding a Data Source
Begin by creating a new Silverlight project in Visual Studio. Then you will add a connection to the Northwind database.
1. In Visual Studio, choose File | New | Project.
2. Select the Silverlight Application template and click OK.
3. In the New Silverlight Application dialog box, select the Enable WCF RIA Services checkbox and click OK. The wizard will create two projects: one is a Silverlight project (client) and the other is a Web project (server).
Next, add an Entity Data Model based on the Northwind database. This model will provide the data for the entire application.
4. In the Solution Explorer, right-click the Web project name and select Add | New Item.
5. Choose the ADO.NET Entity Data Model item and then click Add.
6. In the Entity Data Model Wizard, select Generate from database to generate the model from the Northwind database, and then click Next.
7. Click the New Connection button.
8. In the Choose Data Source dialog box, select Microsoft SQL Server Database File and click Continue.
9. Browse to find the NORTHWND.MDF, select it, and click Open. The NORTHWND.MDF is installed with the product in the Studio for Entity Framework\Data folder within C:\Users\<username>\Documents\ComponentOne Samples (Windows 7/Vista) or C:\Documents and Settings\<username>\My Documents\ComponentOne Samples (Windows XP).
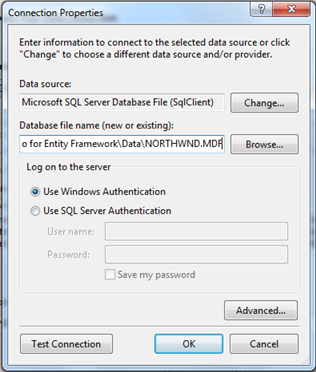
10. Click OK and then click Next.
11. In the Choose Your Database Objects window, select Tables and click Finish.

Now build the project so the new Entity Data Model classes are generated and become available throughout the project. Once they are available, you will be able to connect the data to the C1DataSource component.