To change the navigation pane text, simply set the NextAppointmentText and PreviousAppointmentText properties.
Using Microsoft Blend
To change the navigation pane text in Blend:
1. Add a C1Scheduler control to your window.
2. In the Properties panel of Design view, expand the Appearance node, and enter Forward for the NextAppointmentText property.
3. Enter Back for the PreviousAppointmentText property.
Using Visual Studio
To change the navigation pane text in Visual Studio:
1. Add a C1Scheduler control to your window.
2. In the Properties window, set the NextAppointmentText property to Forward.
3. Set the PreviousAppointmentText property to Back.
Using XAML
The following XAML sets the NextAppointmentText and PreviousAppointmentText properties.
<c1sched:C1Scheduler Margin="15,15,0,12" Name="C1Scheduler2" Grid.ColumnSpan="2" NextAppointmentText="Forward" PreviousAppointmentText="Back" Theme="{DynamicResource {ComponentResourceKey TypeInTargetAssembly=c1sched:C1Scheduler, ResourceId=Office2007.Default}}"></c1sched:C1Scheduler>
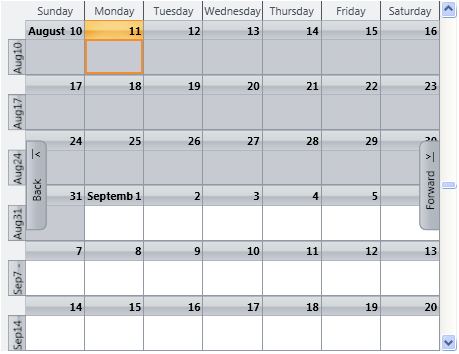
The schedule will now look similar to the following image:
|