Once you have created a new XapOptimizer project or opened an existing project you can optimize your XAP file. Note that you can customize options before optimization, see Working with XapOptimizer for more information.
To optimize a XAP file, complete the following steps:
1. Click the Optimize button located in the lower right corner on any project screen:

A progress bar will appear, indicating that the file is being optimized:

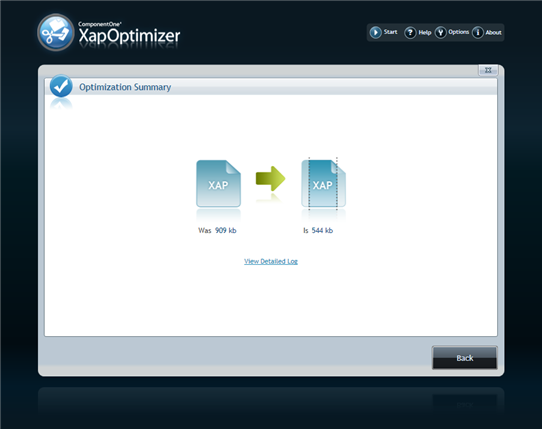
When the file has finished optimizing, an Optimization Summary screen will appear indicating the size of the initial file compared to the size of the optimized file:

2. Click View Detailed Log to view more information about the optimization process including a summary of pruned, obfuscated, and signed elements.
3. Click the Back or Close ("X") button on this screen to return to the project.
Your XAP file will be optimized. If you choose, you can change settings and re-optimize your file. For more information see Working with XapOptimizer.