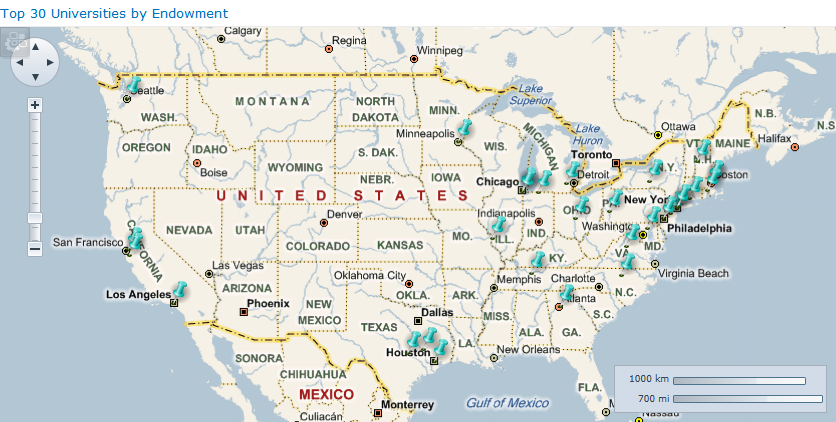
The C1Maps Web Part can be used to create rich, interactive maps. Choose from a variety of Microsoft Bing Maps views, plus included markers and interactions.
Your map can include markers on locations you'd like to highlight, plus
display additional information (data or even a photo) when the markers are
clicked and/or hovered over. Markers can be custom images, or you can choose
from the ones provided. In addition, users can use the zoom tool to zoom in/out
of the map, or use their keyboard +/- keys. 
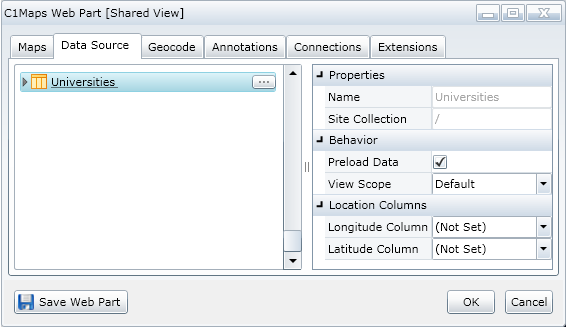
If you are not using Bing Maps Geocoding, choose the Longitude Column and the Latitude Column using the drop-downs. (Your list must include those columns in order to display points on a Map without geocoding.)

(If your data source has a
hierarchy of folders, the View Scope drop-down allows you to
set the files and folders that will be displayed. Default
will show the files/subfolders of a specific folder,
Recursive will show all files of all folders,
RecursiveAll will show all files and folders,
FilesOnly will show only the files of a specific
folder.)
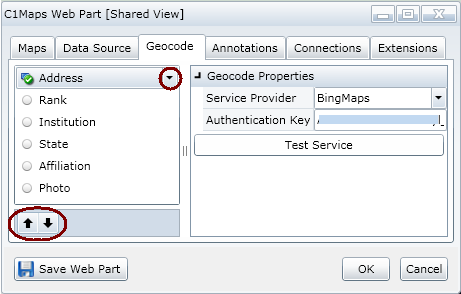
If you don't have a Bing Maps license, you can sign up for a free developer license here: http://www.bingmapsportal.com/.

Click the Maps tab. Set the following and click OK. These fields specify the map type, the longitude/latitude coordinates to be displayed, the map zoom, and the display of the navigation tools:
Map Source = BingMapsRoad, BingMapsAerial, or BingMapsHybrid (See C1Maps Sources.)
Longitude
Latitude
Zoom Factor
Navigation Tools = on (default) or off. The direction tool allows users to move across the right, left, top, or bottom of the map. The scale/zoom tool allows users to zoom in or out of the map.
Click the Annotations tab. Set the following and click OK.
Marker Symbol = Choose from Ball, BallPin, Flag
Marker Image URL Column = If you have a custom image to use as the Marker Symbol, choose the column for it here.
Marker Image Scale = If you have set a Marker Image URL column, use this value to decrease the size of the plotted image. The default is 1.
Minimum Zoom Factor = If Map Inset is chosen as the Annotation Type, set the zoom for the inset here.
Click Action = Choose the type of dialog box that will display when the Marker Symbol is clicked: Modal, Modeless, or none.
Annotation Type = Choose the type of information that should be displayed when the user clicks on a Marker Symbol. Data Values, Image, Map Inset, and Navigation are available.
Annotation URL Column = If your annotations (for example, you chose an Annotation Type of Image) can be accessed by a URL in a list column, select that column here.
ToolTip Text Column = Choose the list column that contains the Marker tooltip information. This information will be displayed when the user hovers over the Marker Symbol.
Click the Save Web Part button.
If you would like to connect your C1Maps Web Part to another web part on the same page, see Connecting Web Parts.